
Your Guide to the Perfect 3D Printed Coin
Learn to design, print, and finish a custom 3D printed coin. This guide covers CAD, slicer settings, materials, and professional finishing techniques.
Ever wanted to hold a custom coin that you designed yourself? It’s more doable than you might think. A 3d printed coin is exactly what it sounds like: a physical token brought to life from a digital file using a 3D printer. It’s a fantastic way for anyone, from a hobbyist with a basic printer to a pro with high-end gear, to create everything from unique collector's items to branded challenge coins.
This guide will walk you through the entire process, from that first spark of an idea on your computer to holding a finished, polished coin in your hand.
From Digital Idea to Physical Coin
We’re covering it all—no steps skipped. Whether you're aiming to make a one-of-a-kind collector’s piece, a promotional token for your business, or even a physical crypto coin to sit on your desk, 3D printing makes it happen. The best part is that even entry-level hobbyist printers can produce some seriously impressive results.
Core Steps of Coin Creation
Turning a digital concept into a physical coin really boils down to three main stages: design, printing, and finishing. Getting a professional-looking final product isn't about having the most expensive setup; it's about understanding how these three phases work together.
This chart gives you a bird's-eye view of the workflow, from your digital blueprint to the tangible object you can actually hold.
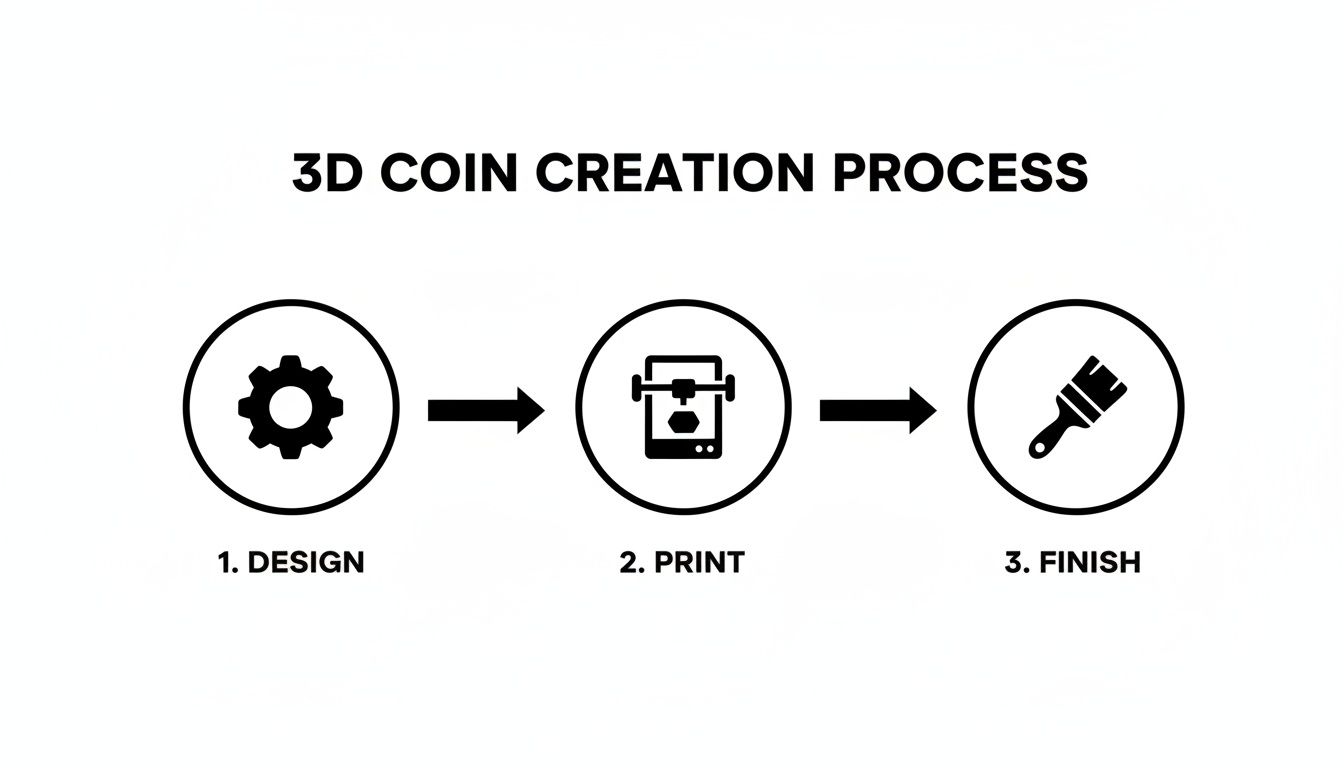
The key takeaway here is that each step builds on the last. A great print can't save a bad design, and sloppy finishing work can easily ruin a perfect print. You have to nail all three.
Why Make Your Own Coins
The real magic of making your own 3D printed coin is the complete freedom to customize. Traditional minting is expensive and usually requires massive production runs, but 3D printing lets you affordably create a single piece or a small batch.
This opens up all sorts of cool possibilities:
- Personalized Gifts: Design a truly one-of-a-kind keepsake for friends or family.
- Promotional Items: Create branded challenge coins for your company, team, or event.
- Prototyping: Test out a coin design before you even think about committing to a costly mass-production run.
- Tangible Crypto: Bring your digital assets into the physical world. This is a trend that’s even catching on with big financial players. If you're curious, you can learn more about J.P. Morgan's own digital coin project and see how traditional finance is dipping its toes in.
The material cost for a standard 40mm PLA coin is often less than $0.30. The real value is in the custom design and the satisfaction of making something yourself, making it a super rewarding and affordable project for any maker.
Designing Your Coin for Flawless Printing
A fantastic 3D-printed coin all starts with a solid digital blueprint. The time you invest in the design phase pays off massively later, saving you from the headache of failed prints and wasted material. And don't worry, you don't need to be a seasoned CAD expert to get a great result—there are fantastic tools for every skill level.
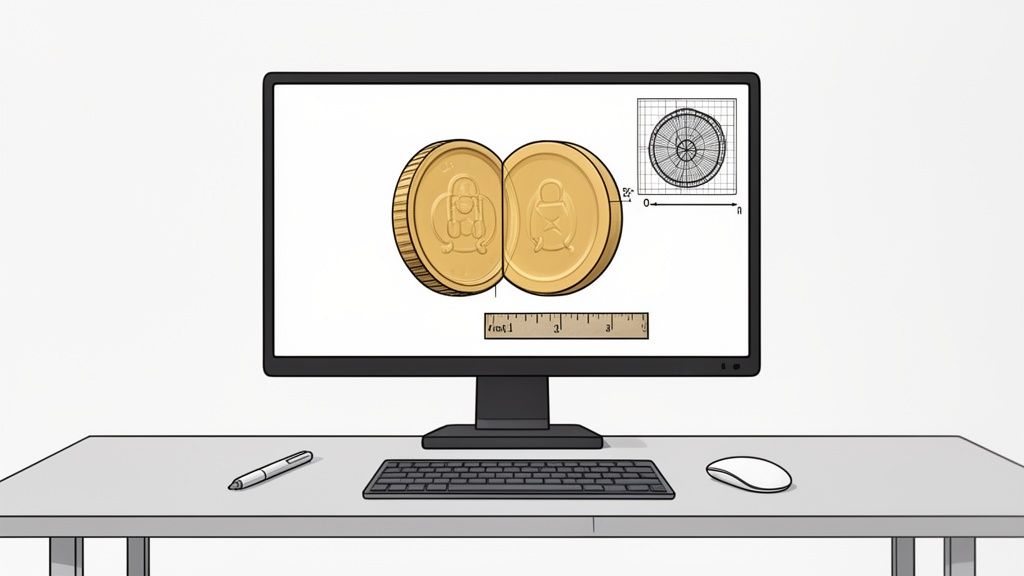
Here's a breakdown of software options based on your skill level:
- Beginner: Tinkercad is your best friend. It’s browser-based and lets you build surprisingly complex models by simply adding and subtracting basic shapes. It’s perfect for creating the main coin body and stamping on some text or a simple logo.
- Intermediate/Advanced: For more intricate details and organic shapes, jump into a more powerful program like Fusion 360 or the ever-popular Blender. These give you the granular control needed for truly custom work.
Key Coin Design Considerations
Before you extrude your first cylinder, think about the final physical object. A coin's dimensions give it a satisfying heft and feel. A great starting point for a standard challenge coin is a diameter between 38mm to 45mm with a thickness of about 3mm to 4mm. This ratio feels substantial without being too clunky.
| Design Element | Recommended Spec | Why It Matters |
|---|---|---|
| Diameter | 38mm - 45mm | Provides a good feel and weight in hand. |
| Thickness | 3mm - 4mm | Ensures durability and a satisfying heft. |
| Model Integrity | "Watertight" (no holes) | Prevents print failures from non-manifold geometry. |
| File Format | 3MF or STL | 3MF is modern and can store more data (like color). |
Start tracking smart money today
Join thousands of traders using WalletFinder.ai to find profitable wallets and copy their trades.
Start Free Trial →

